


DIY Button Bowl
If like me you have somehow ended up with a crazy amount of buttons in your collection, this DIY Button Bowl is a great project to put them to use. You can choose any colour theme you like or have a multi-coloured masterpiece. You can even mix up your button styles such as fabric, plastic and wood.
This weeks blog share is from www.bespoke-bride.com
View the original post here. This blog has an absolutely fabulous range of makes!
I’ll admit it. This DIY was not as easy as I thought it would be and I definitely made a tactical error by using small buttons! Having said that, I still think the bowl looks pretty cute filled up with jewellery or whatever else you fancy popping in your bowl of buttons! Right, let’s get to it shall we?
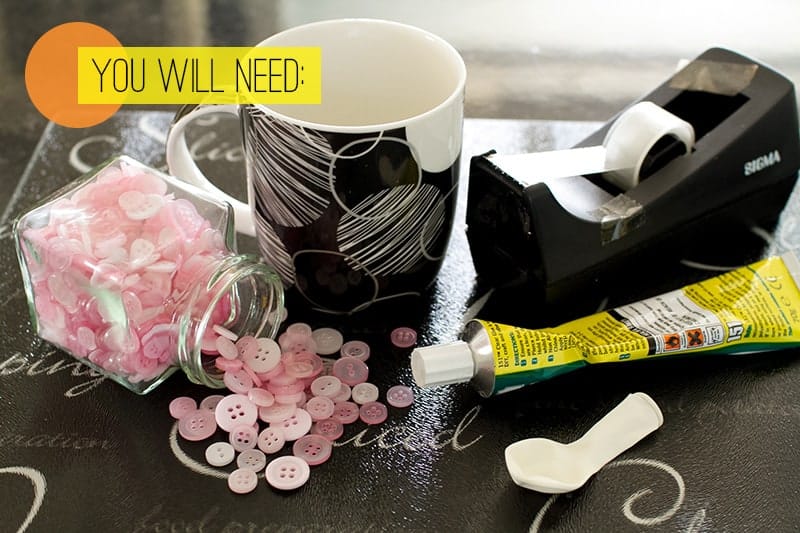
 A single balloon
Glue
Sellotape
A mug (or something to be able to secure the balloon to)
Lots and lots of beautiful buttons! (the bigger the better!)

Step 1: Blow up your balloon to a suitable size
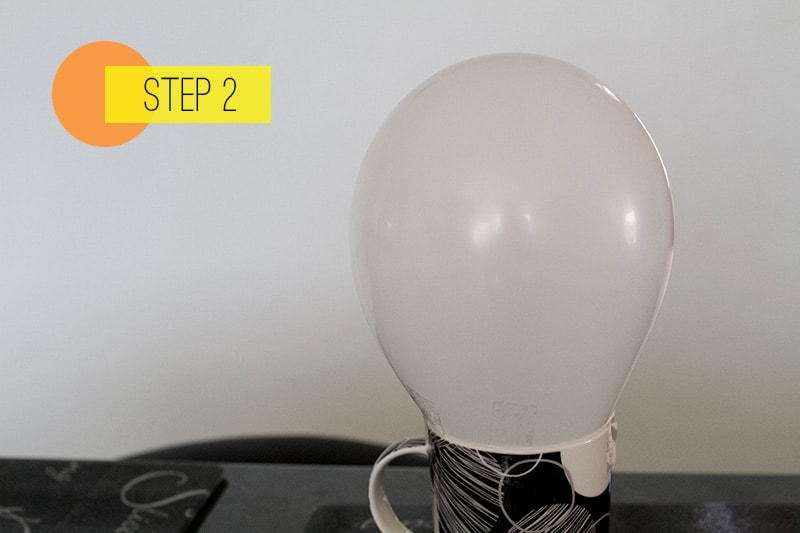
Step 2: Tape your balloon securely to the mug
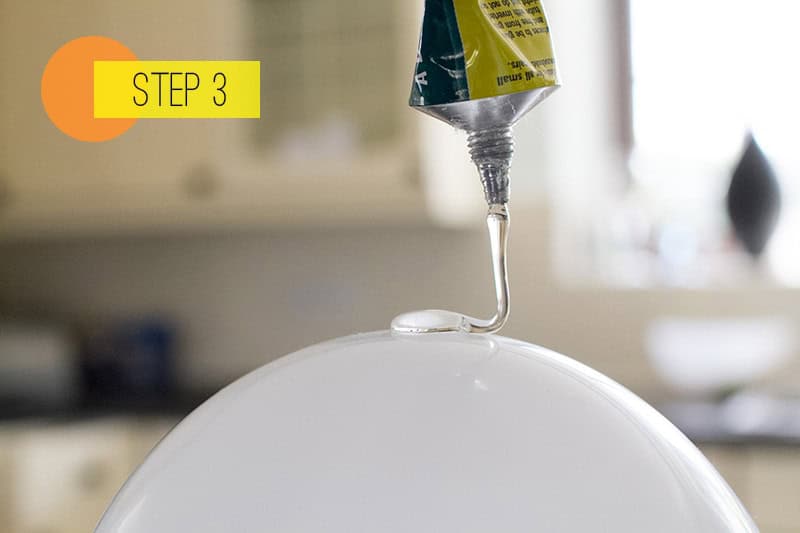
Step 3: Pour a large amount of glue on to your balloon
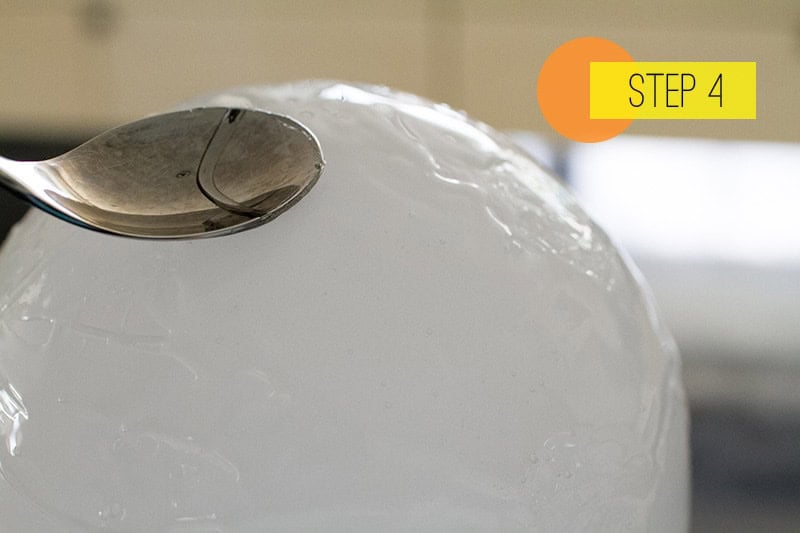
Step 4: Quickly smother the glue over about half of the balloon and leave to dry. The idea is that this forms a layer between the balloon and your buttons.
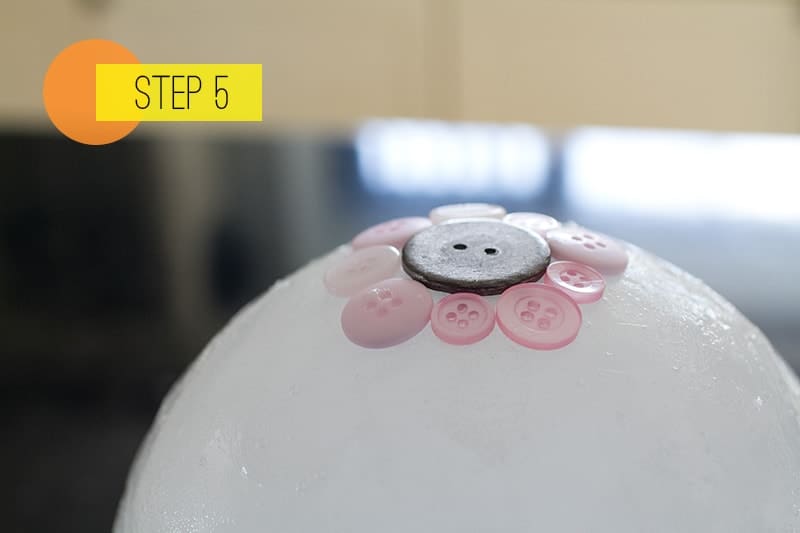
Step 5: Start to glue your buttons onto the balloon once the original layer of glue has dried. I used a large and heavy button in the center of the balloon to weigh the bowl down.
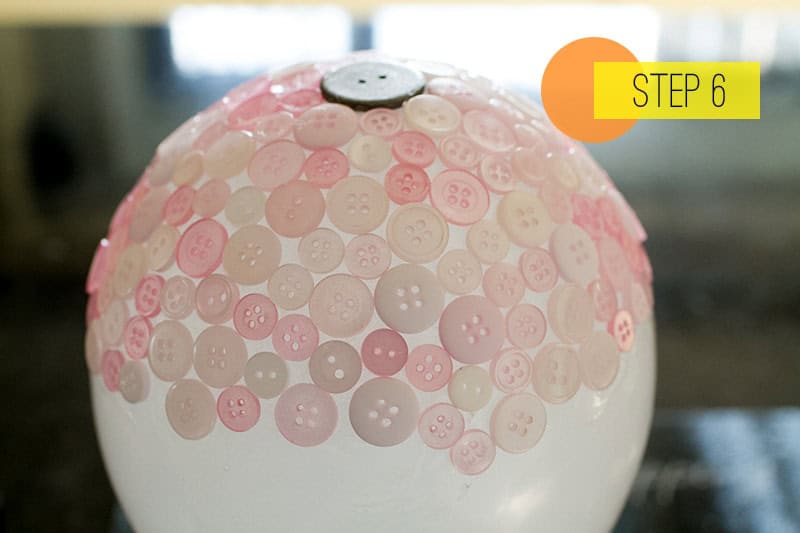
Step 6: Continue to place the buttons all over the balloon until you are happy with the shape and size of the soon to be bowl then leave to dry.
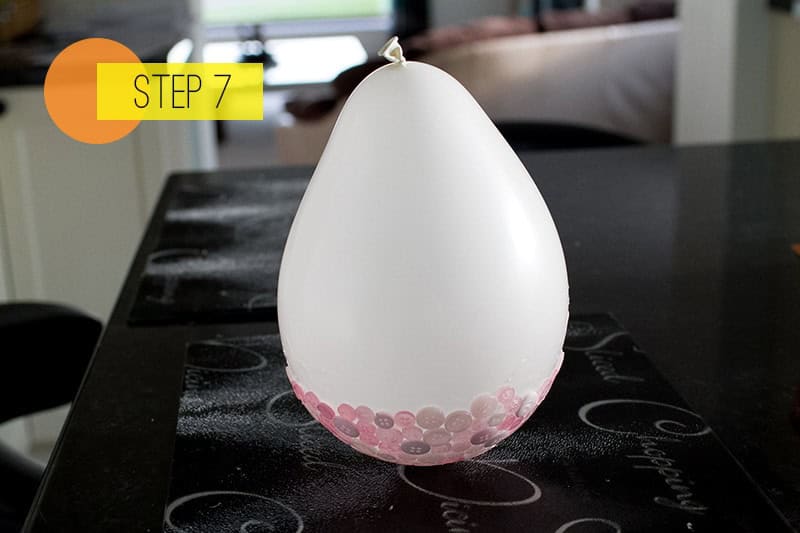
Step 7: Remove the tape from the cup and balloon and place upside down so the bowl looks ready.
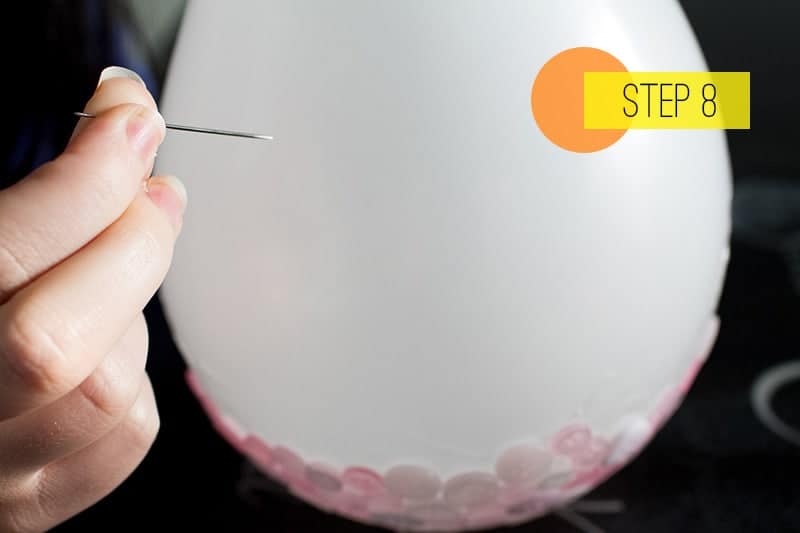
Step 8: Take a pin and pop the balloon. This is where it went completely wrong for me! First of all, I hadn’t left the glue long enough to dry and secondly, I used buttons that were way too small to be able to support a shape of the bowl, so unfortunately the whole bowl kind of folded in on itself!

Step 9: SO, I quickly placed it over a large glass to stretch out the shape again and left it to dry for a further 2 hours.
and finally…..
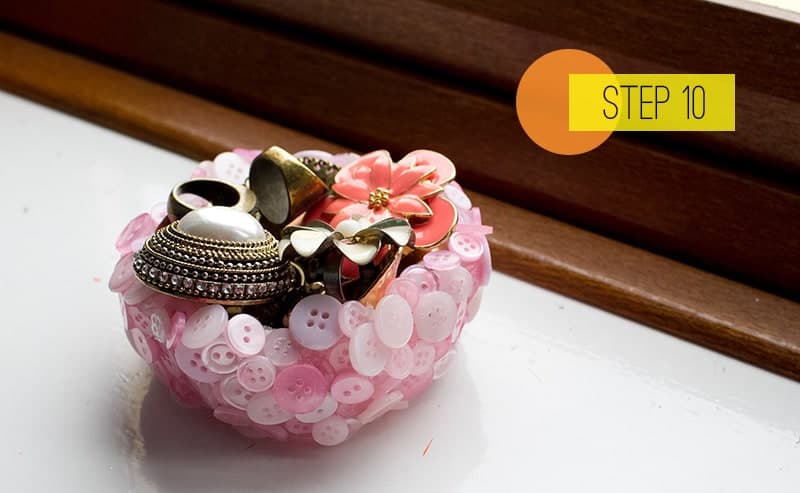
Step 10: Remove from the glass and pop on display with whatever you want to fill it with!
I would really love to know if you created a button bowl and did it successfully? I’m gonna have to try this again with larger buttons to see if the bowl holds it shape better!
Much Bespoke Love
Jess